Note: This is a printed version of https://employeehelp.workday.uw.edu/selecting-your-vision-plan. Please visit this page on the ISC website to ensure you're referencing the most current information.
Select Your Vision Plan and Enroll Dependents in Your Vision Coverage
PEBB benefits-eligible employees should refer to this page when selecting a vision plan and enrolling dependents into a vision plan in Workday.
Note that vision coverage will begin January 1, 2025, and it cannot be waived, as it is provided at no cost to employees who are currently enrolled in a medical plan.
If no vision plan is elected, employees and their 2024 medical dependents will be defaulted into PEBB MetLife Vision.
![]()
To select a Vision plan, you must be logged into Workday. Once logged into Workday, open the Benefit Change – Health Newly Eligible action item from within your “My Tasks” inbox, and select the Let’s Get Started button.
Then, follow the steps below to select your vision coverage.
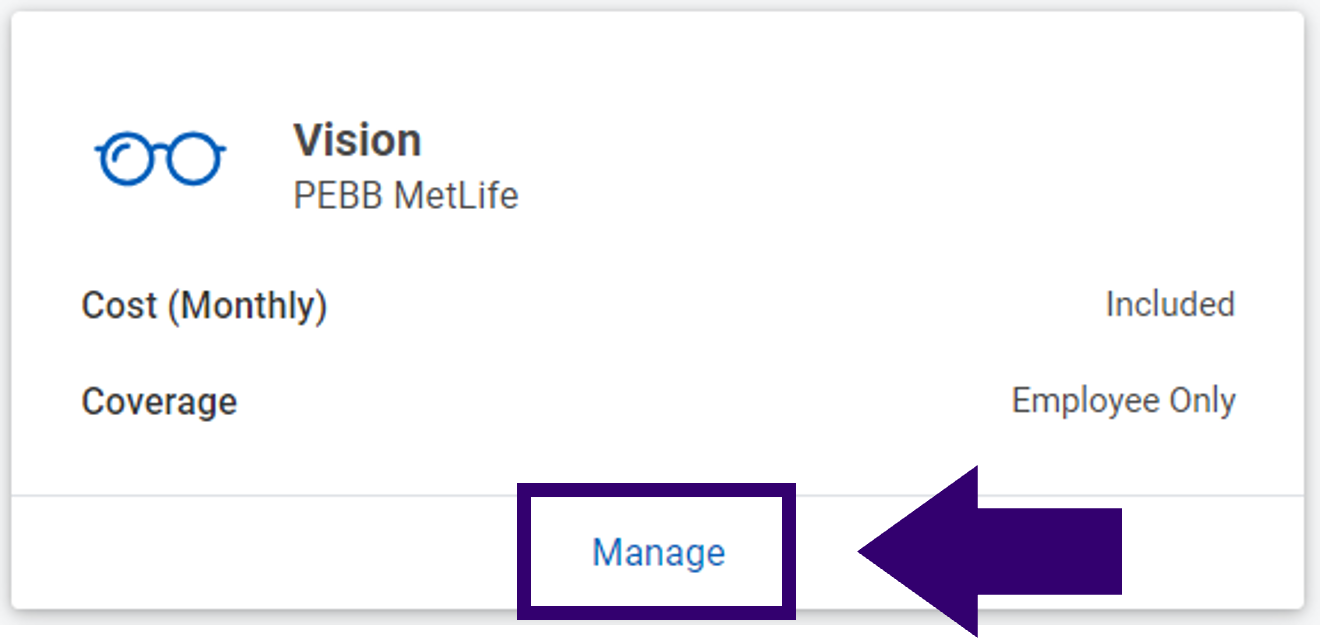
1. Locate the Vision tile and select the Manage link.

Select Your Vision Coverage
2. On the Plans Available screen, find the Vision plan you want to enroll in and choose Select in the Selection column.
3. Select the Confirm and Continue button.
-
Checkpoint – Pause here for a moment…
⇒ If you DO wish to add dependents to your Vision coverage, proceed to step 4.
⇒ If you DO NOT wish to add dependents to your Vision coverage, skip ahead to step 11.
Enroll A New Dependent in Vision
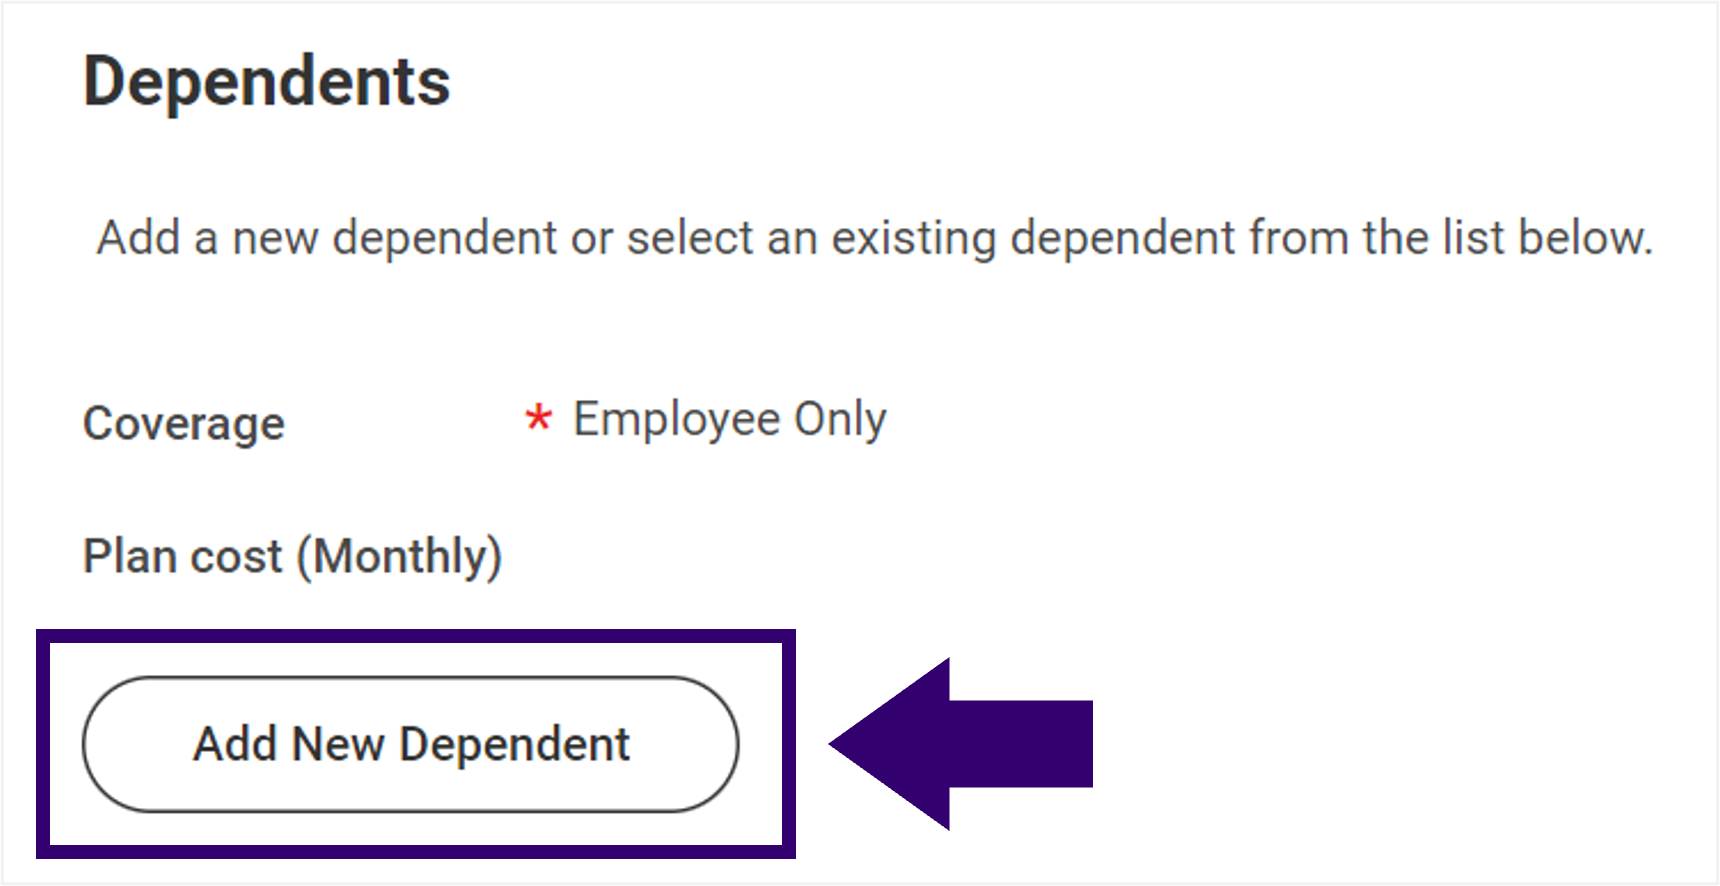
4. If the name(s) of the dependent(s) you wish to add already appears on the screen, you do not need to select the Add New Dependent button. Instead, go to step 10 to “Enroll An Existing Dependent in Vision”.
Otherwise, in the Dependents screen, select the Add New Dependent button.

5. In the initial Add My Dependent From Enrollment screen, select the OK button.
Complete the Name and Personal Information sections
6. Complete the required fields (indicated with a red *) in the Name and Personal Information sections; do not use the Full-time Student checkbox.
-
Checkpoint – Pause here for a moment…
⇒ If your dependent does not yet have an SSN or ITIN, or if you don’t know their SSN or ITIN, skip the “National IDs” section of the screen (step 7) and move ahead to complete the “Address” and “Phone & Email” sections as described in step 8. Also, be sure to pay special attention to the “If you did not provide your dependent’s SSN/ITIN” note under Save and Review below in step 9.
⇒ If your dependent does have an SSN or ITIN, complete the National IDs section per the below guidance in step 7.
Complete the National IDs section
7. In the National IDs section, select the Add button, then:
- In the Country field, select United States of America.
- In the National ID Type field, select the appropriate choice, either “Social Security Number (SSN)” or “U.S. Individual Taxpayer Identification Number (ITIN)”.
- Complete the Add/Edit ID field accordingly.
- Do not use the Issued Date and Expiration Date fields.
Complete the Address and Phone & Email sections
8. In the Address and Phone & Email sections, the dependent’s address will automatically default to your home address, and is where the insurance company will send the insurance card and other information. If your dependent’s address is the same as yours, make no changes; otherwise update their address as needed.
Save and Review
9. At the bottom of the screen, select the Save button.
- To add another dependent, repeat the above steps.
- If finished adding dependents, confirm that a check appears in the box next to the names of all dependents you would like to enroll in your Vision coverage.
- If you did not provide your dependent’s SSN/ITIN… At the bottom of the screen, select Reason SSN is Not Available in the Dependent Social Security Numbers section, and enter a brief explanation as appropriate. If/when your dependent receives an SSN/ITIN in the future, please call the Benefits Office to have your dependent’s record updated.
Ensure that the names of all dependents you would like to enroll in your Vision coverage are listed in the table AND have a checkmark next to their name.
Then, proceed to step 11.

Note: Later in this process, you will have the opportunity to upload/attach the supporting documentation required to verify each dependent’s relationship to you. If adding a spouse to your Vision plan, you will also need to provide your Marriage Date.
Enroll An Existing Dependent in Vision
10. In the table on the Dependents screen, select the checkbox(es) for the dependent(s) you would like to enroll in your Vision coverage.

If the names of any dependents you wish to enroll in your Vision coverage are missing from the table, refer to step 4, “Enroll A New Dependent in Vision,” above.
Then, proceed to step 11.
11. Select the Save button at the bottom of the screen. A pop–up window will appear noting that your changes “have been updated, but not submitted.”